A wedding day is one of the most special and impactful moments in your entire life. That’s why making sure that it runs as smoothly and stress-free as possible is key! We want to make sure that your couples are feeling as worry-free as possible through this already overwhelming time in their life. Aka wedding planning, duh! How do we do this you may ask? By knowing how to make a seamless wedding day timeline. This, in turn, will help make sure that not only are your couple and wedding party are on the same page, but you and the other wedding vendors are as well!
What is A Wedding Timeline?
First things first, we’re going to need to go over what a wedding timeline actually is. Essentially a wedding timeline is a detailed breakdown of the entire wedding day. For us photographers, it’s a way for us to determine how long certain events and photos will take to ensure we are capturing everything our couples want. If your couple is working with a wedding planner, this may be something that is provided by the wedding planner as you get closer to the wedding day. However, I would still recommend making sure that your photography schedule lines up with the wedding planner’s timeline plus the needs of your couple.
How To Make A Seamless Wedding Day Timeline
So now that you know what a wedding timeline is, you need to know how to actually execute and create a seamless wedding day timeline.
Suggest A Ceremony Time Well Before Sunset
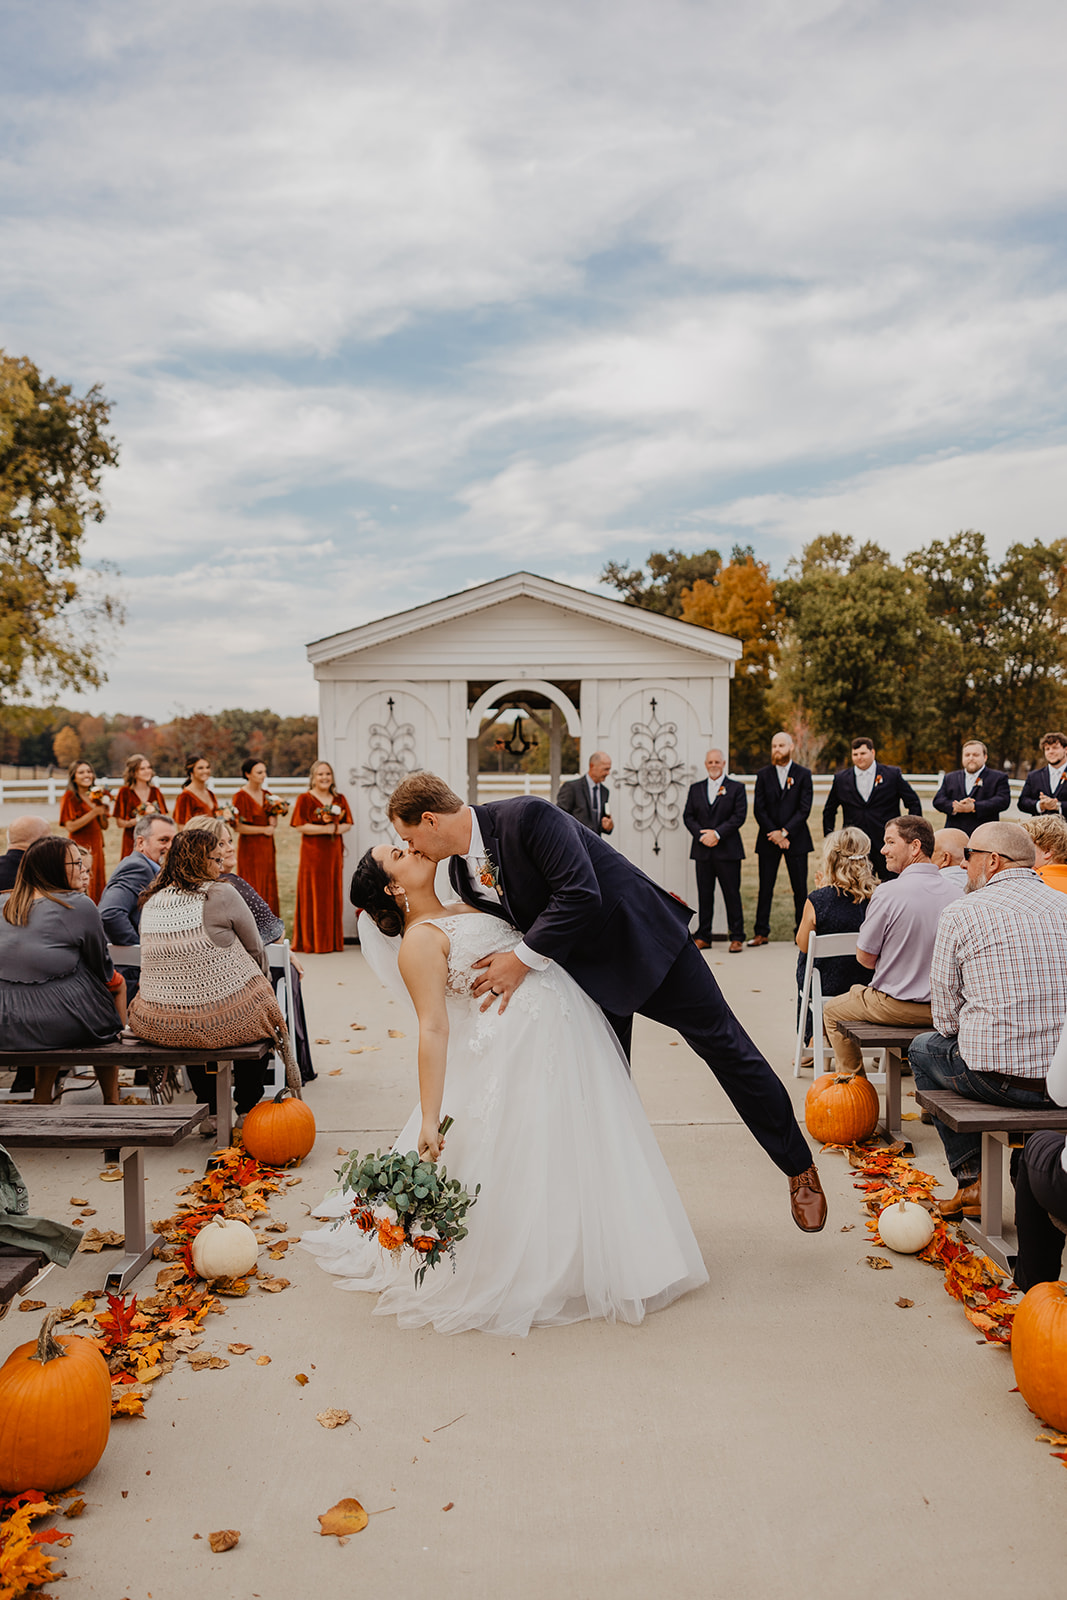
When discussing with your couple about how they envision their wedding day, they also look to us for recommendations and our professional opinion. With that being said, I always try to recommend my couples start their wedding ceremony a minimum of 2 hours before sunset. This will allow for the best lighting especially if they choose to forego a first look.
Send A Questionnaire To Gather Details
Around the 8-10 week mark is when I would typically recommend sending out a questionnaire to your couples. This questionnaire should gather details about their wedding day to help you in creating their wedding day timeline. Make sure that there are questions that discuss things such as:
- Getting Ready Locations
- Contact Information (Couple + Planner/Day Of Coordinator)
- When Hair & Makeup Will Be Done
- Ceremony Time & Location
- Reception Time & Location
- Family Formal List
- Other Events Happening Throughout The Day (first look, garter toss, cake cutting, grand exits, etc)
- Vendor Information/Details
Making sure you gather all this information prior to creating your couple’s wedding timeline will save you a ton of back and forth. This will also make sure you are as organized as possible and are able to capture your couple’s wedding day to a T. If the idea of creating the “perfect” wedding questionnaire scares you, don’t worry. I have mine up for sale on my shop that is essentially a copy + paste guide to a perfect wedding day questionnaire to build your wedding day timeline. You can check that out here!
Ask What Moments Are Important To Them
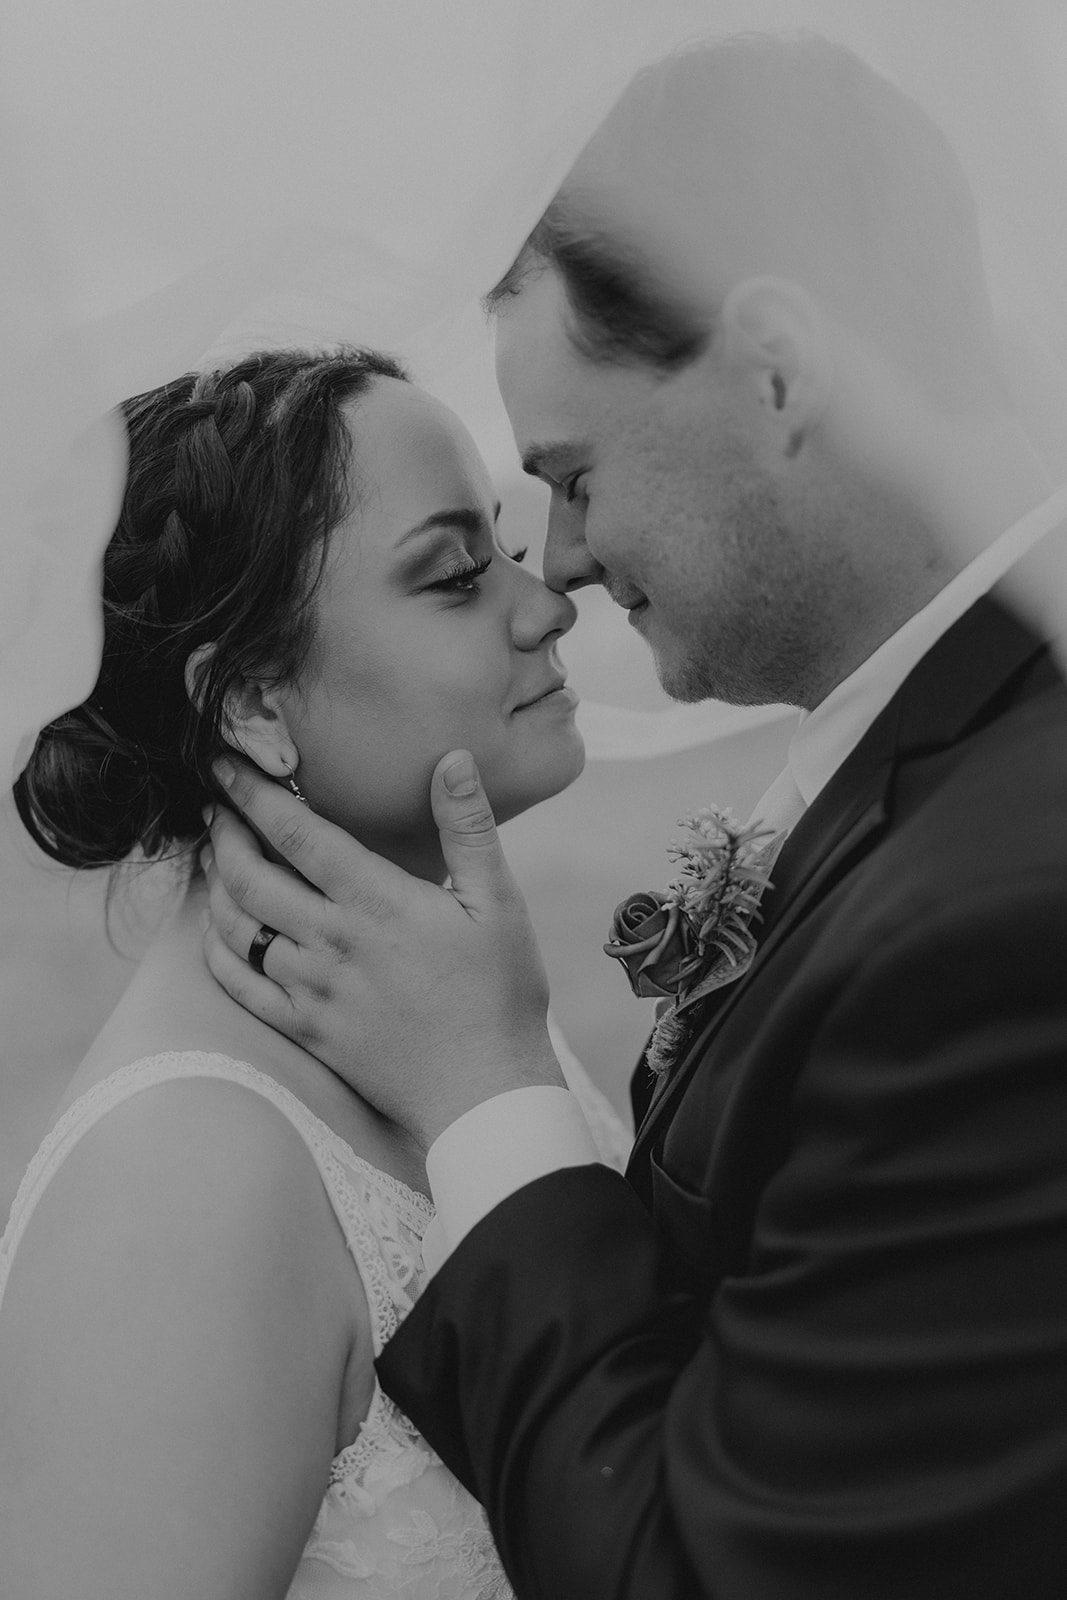
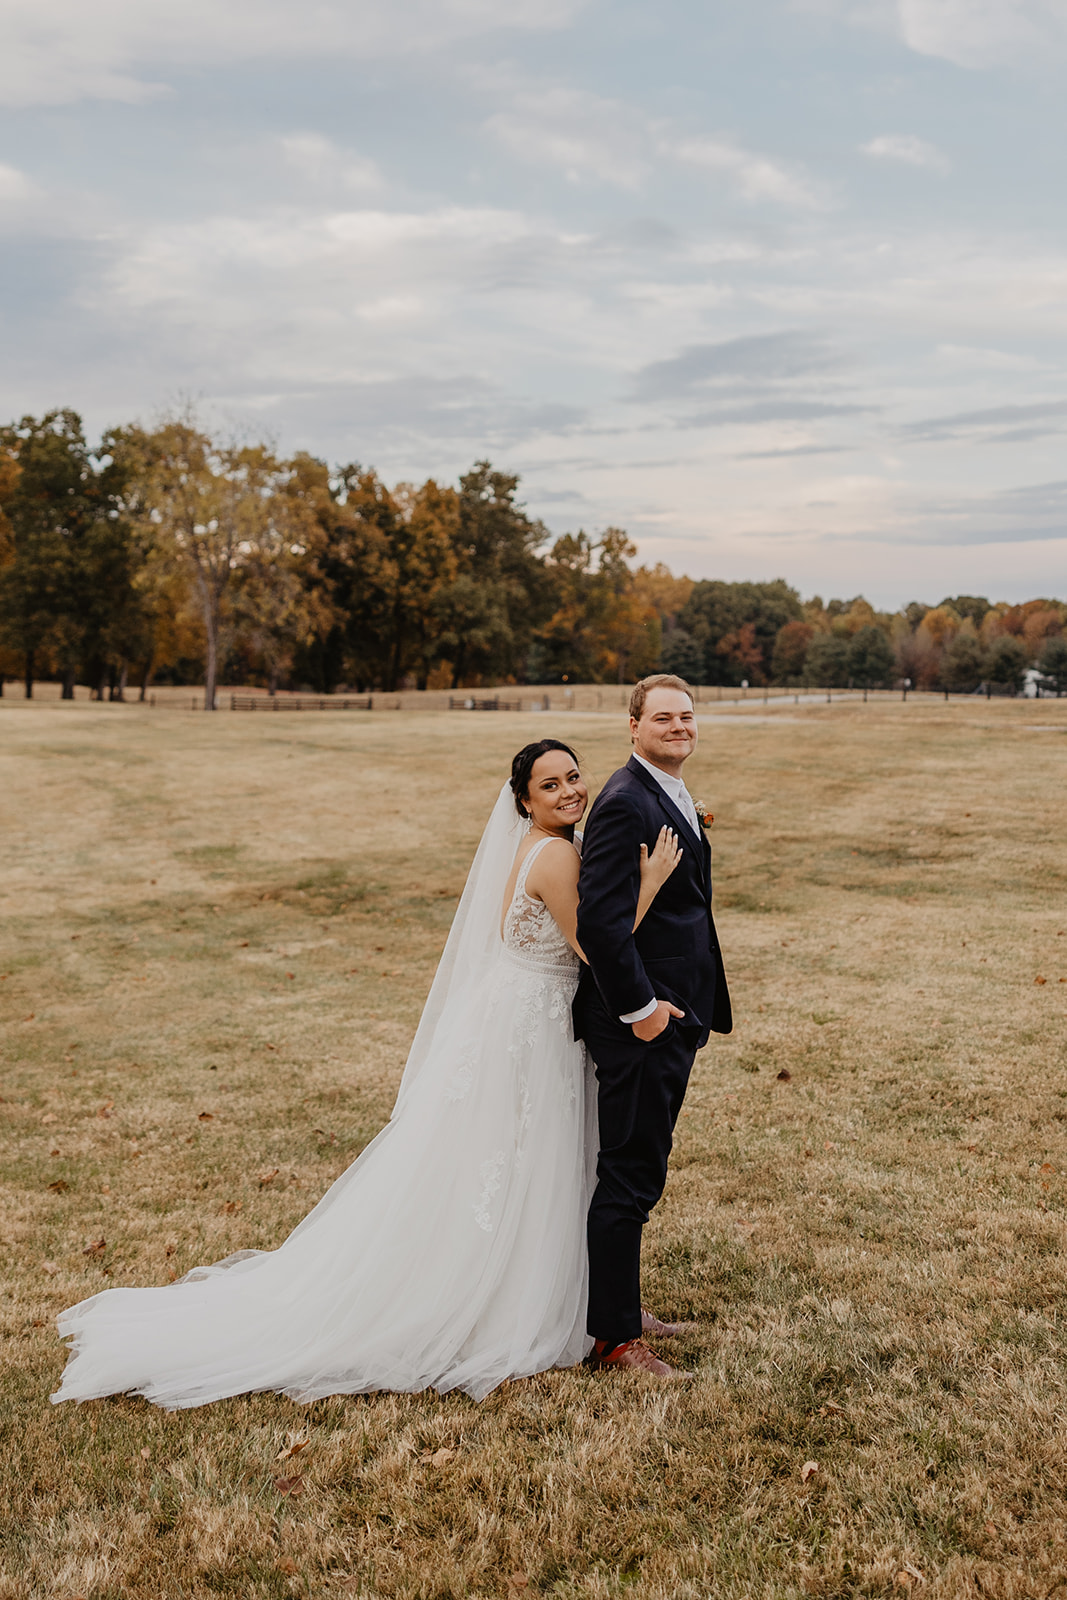
Tying into your wedding questionnaire, it’s important to ask your couple what moments are the most important to them. These moments and details can be as simple as their grandma’s necklace, a special unity binding ceremony, specific family members you want photos with, etc. Knowing this will help them feel more secure in knowing that you are there to capture their day how they want it.
Set Aside “Hide Away” Time Before The Ceremony
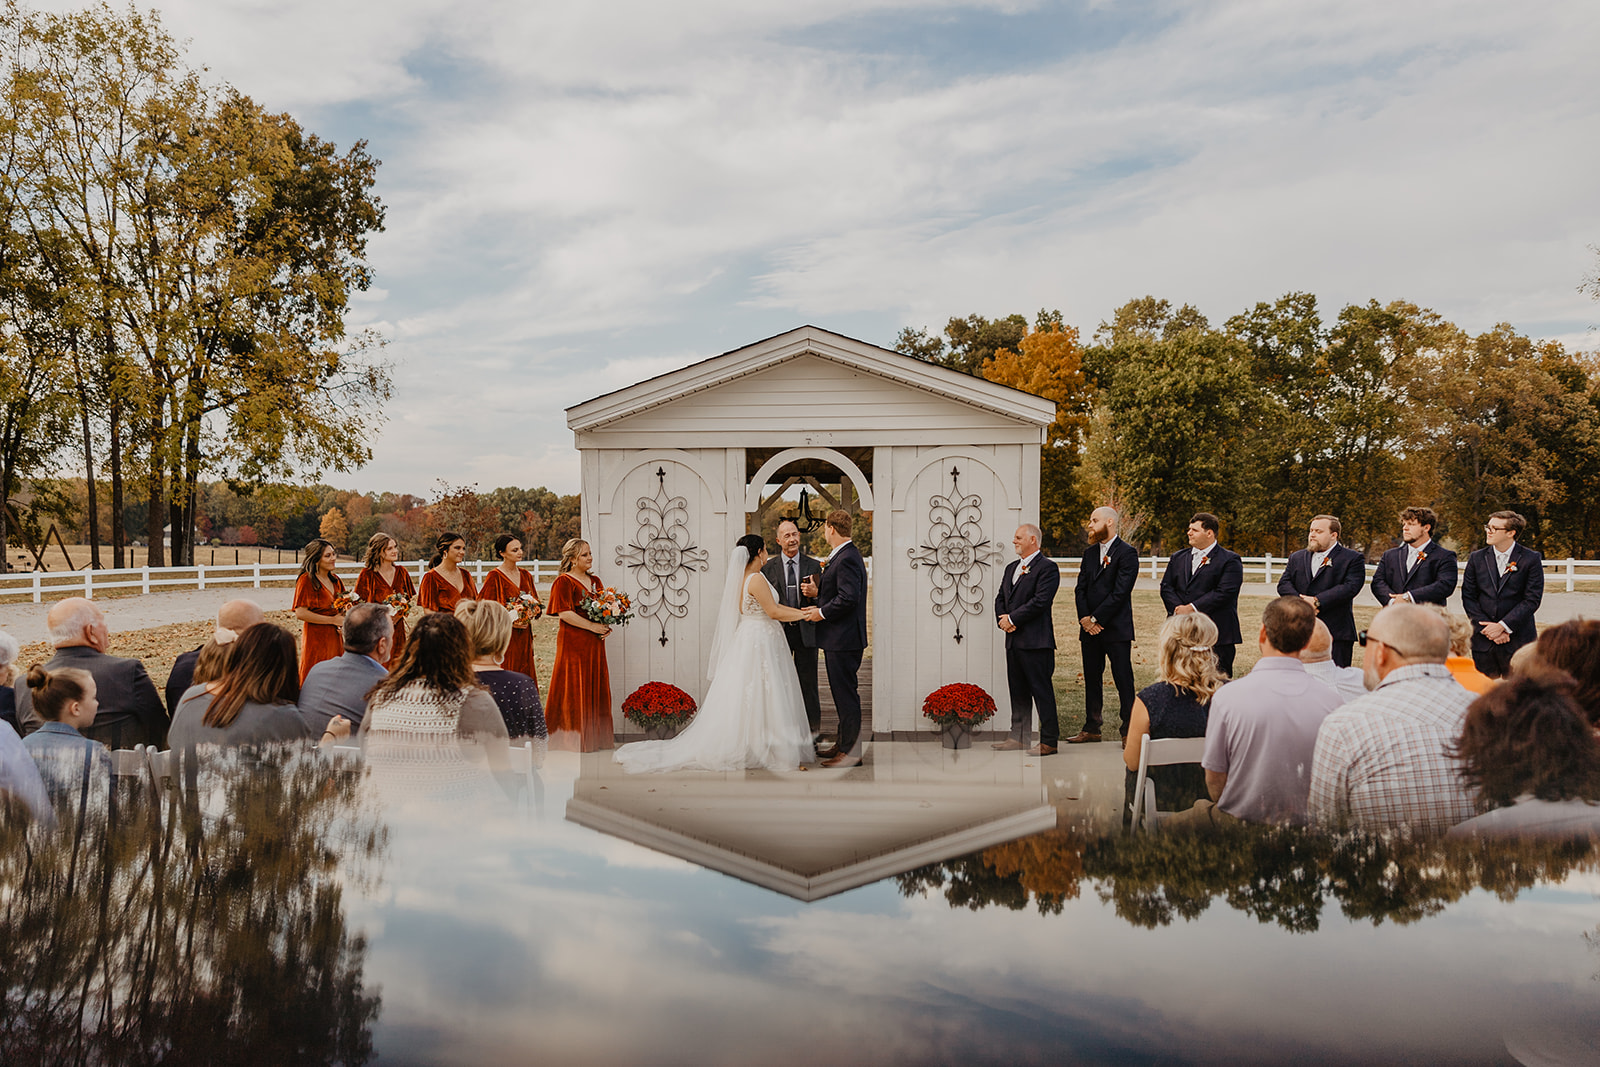
I always encourage my couples to incorporate a “hideaway” time into their wedding timeline. Essentially, a hideaway time is about 30-60 minutes before the ceremony where the wedding party, bride and groom hide. Guests typically begin showing up 30 minutes prior to the ceremony and if your bride wishes to not be seen before the ceremony, you have to hide!
Okay, but everyone is put away inside…. now what? Use this hour to your advantage and use it to photograph the reception area, change batteries, use the restroom, get set up for the ceremony, or photograph anything you might have missed. You obviously don’t want to be standing around for that hour, so use up that 30-60 minutes to the very last minute. Your couples will seriously appreciate this!
Tip: If you need to make up time during that hour, you can always photograph the groomsmen then. Typically, the groom and groomsmen will be a bit more lenient in who sees them before the ceremony. Just make sure that if you do decide to do this, do it far away enough from guests. You are bound to have some guests come up to you and interrupt your photos which you do not want.
Have Your Couple Make A Detail Family Photo List
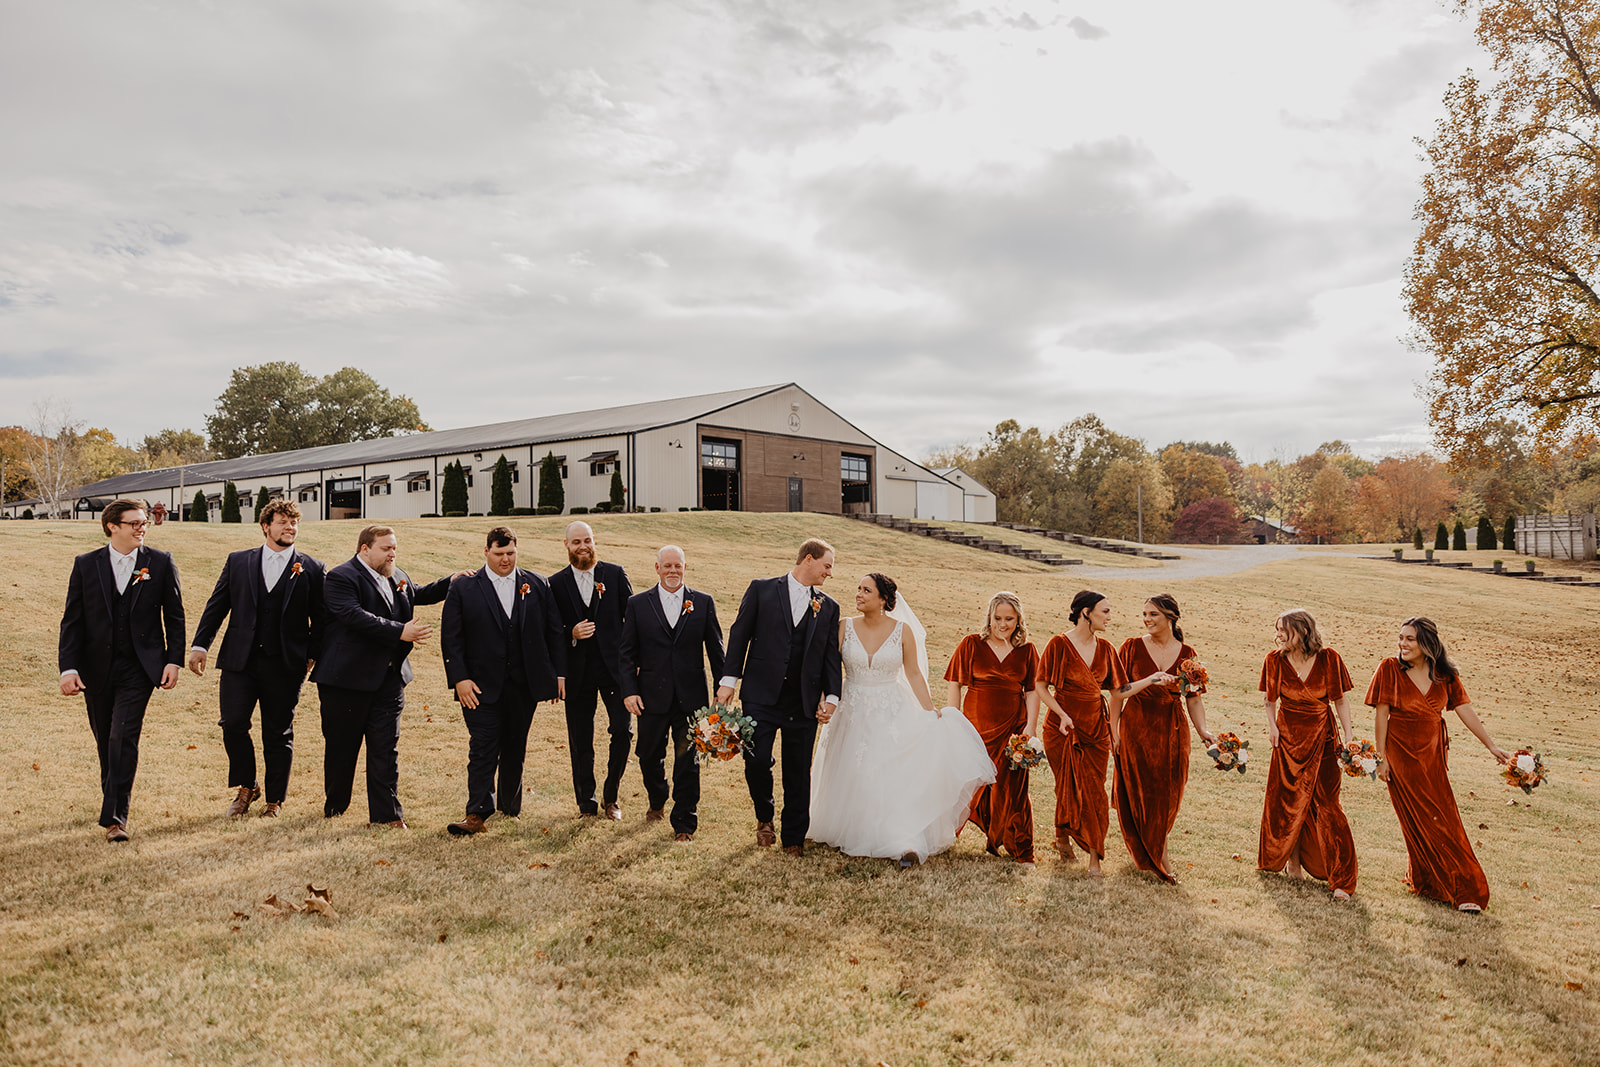
As I mentioned before talking about your wedding questionnaire, you want to make sure your couple is also giving you a detailed family photo list. This family photo list should include how they are related to the couple along with their names. This in turn will help make your job easier, trust me. I also suggest asking your couple to keep this list to immediate family (i.e. parents, siblings, grandparents). Any other photos that your couple wants to be taken can always be done during the reception. Just make sure you also get a list for that as well!
Example Family Photo List:
- Bride w/ brides parents (Tony + Stacy)
- Bride + Groom w/ brides parents (Tony + Stacy)
- Groom w/ grooms siblings + spouses + kids (Robert, Karah, Millie, Andie, and Kit)
And so on…
Buffer Time Is Everything
When building out the seamless wedding day timeline, make sure you are adding in plenty of buffer time. Buffer time is everything when it comes to being fully prepared on a wedding day. Having that extra bit of time incorporated in between events on a wedding day will give you that extra security if anything happens to run behind. This will give you a little bit of wiggle room and will make sure that you and your couple are as worry-free as possible. For instance…if it only takes you 20 minutes to photograph groomsmen, when making the rough draft of the timeline I would cushion it to be 25 or 30 minutes just in case. And hey – if you end up finishing it in less time…great! Now you are ahead of schedule!
Send A Rough Draft Timeline To Your Couple
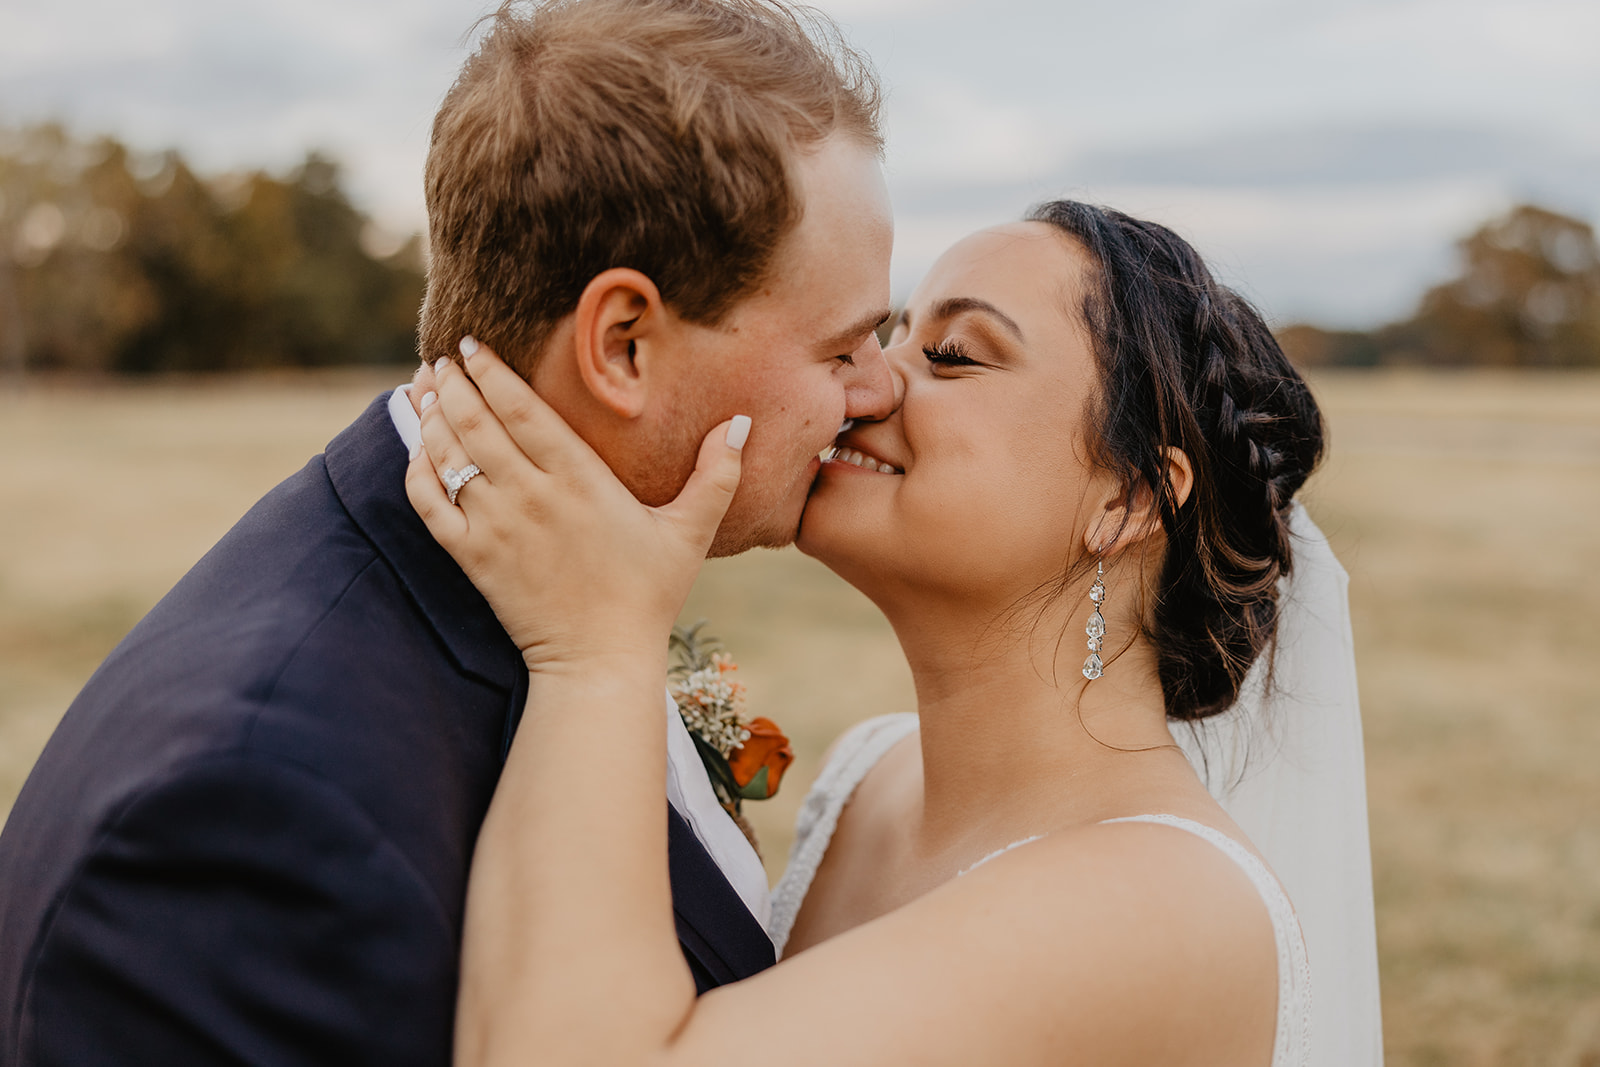
So maybe you’ve made a draft of your wedding timeline, great. It doesn’t stop there though, next you should be sending that rough draft to your couple. You also want to make sure that you book a call with them to go over said timeline. A call is a much easier way to answer questions and walk your couple through the wedding timeline and why you made it that way. Explain the wedding timeline completely, move things around and adjust based on your couple’s wants and needs. You want to make sure that your couple is feeling 100% prepared for the big day.
Send Your Timeline To Their Planner/Coordinator (If They Have One)
After discussing with your couple their draft of your wedding timeline, you have finally made your edits and changes. Now what? I suggest sending over your wedding timeline to their planner/coordinator (obviously if they have one). You want to make sure that if they are working with a wedding planner and they have their own schedule, it lines up with yours. Sometimes, planners/coordinators don’t take into account lighting throughout the day which can severely affect your photos. So make sure that you’re sending that to them so that everyone is on the same page!
Arrive Well Before Scheduled Time To Prep
When it comes to the wedding day, I typically like to arrive at least 20 minutes before the timeline says to arrive. This gives you the opportunity to put your items down, get a lay of the land, put your gear on, head to the bathroom, say hi to everyone, and then begin shooting. You would rather be early than late, especially on a wedding day, so definitely take this one to heart.
Be Able To Think On Your Feet
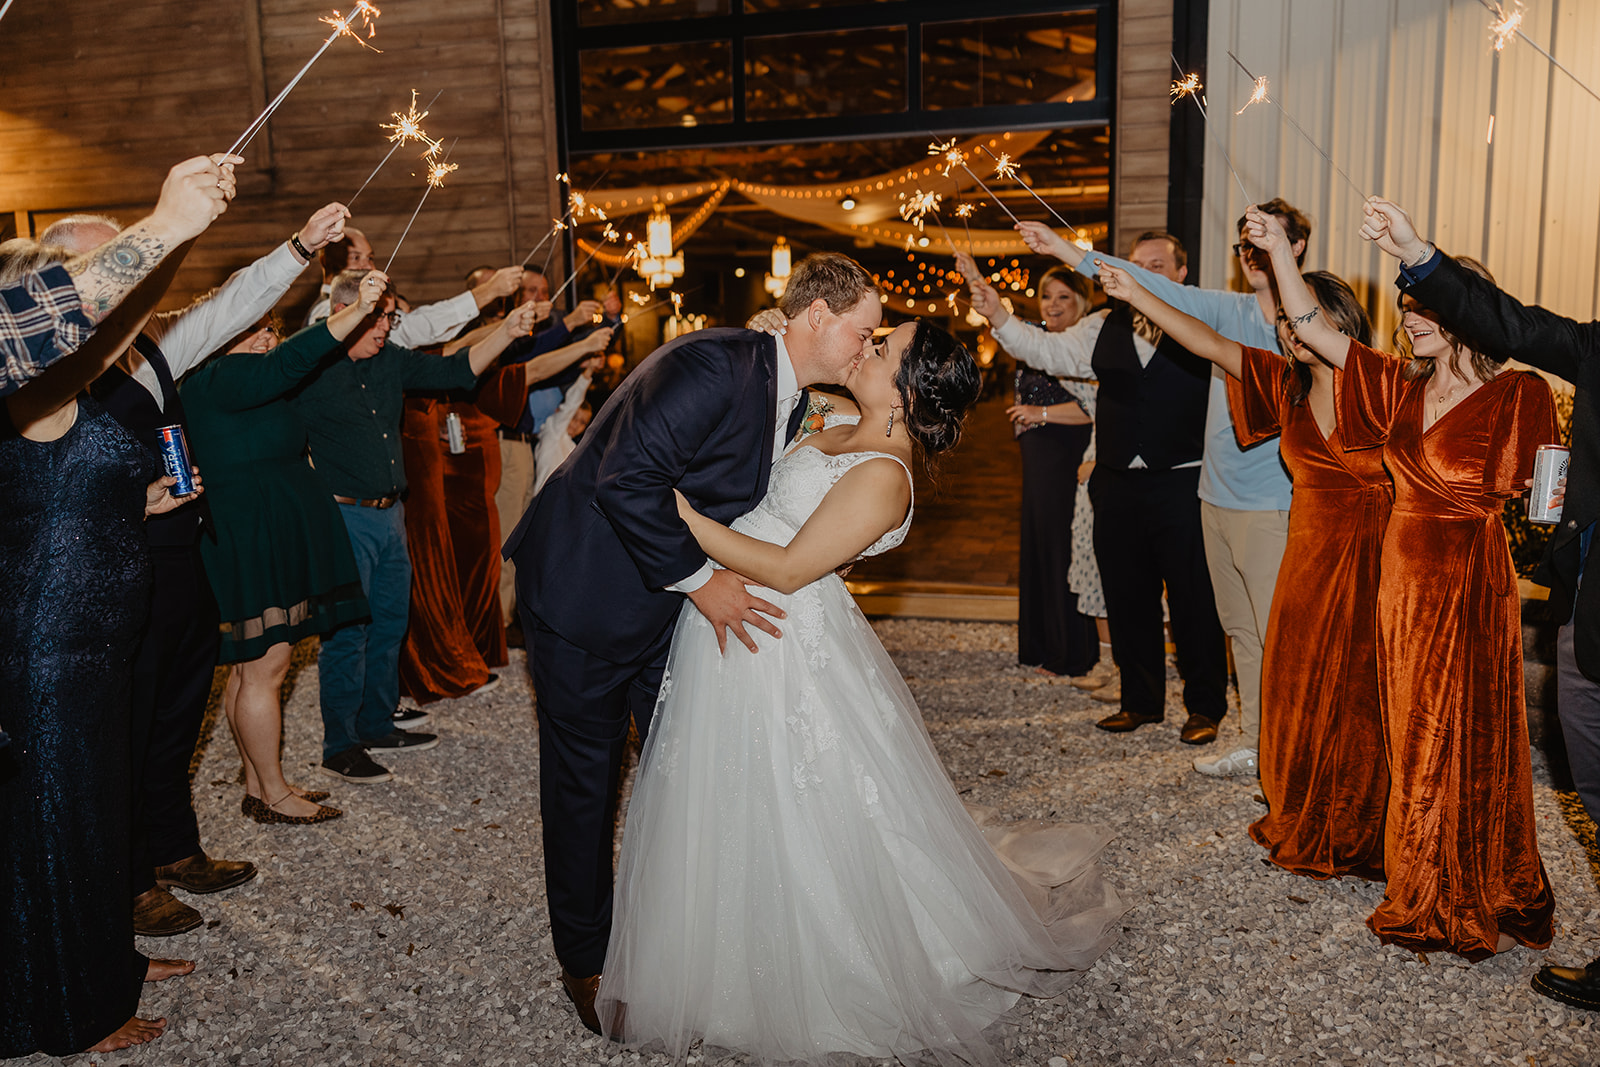
If you’ve photographed weddings before, you know that oftentimes you have to be quick on your feet. You most likely will fall behind on your wedding timeline at some point but whatever you do, KEEP YOUR COOL. If you freak out, then your couple freaks out and we don’t want that! Be upfront with your couple and ask them what they would rather cut short/sacrifice if need maybe. An example is, maybe getting to the reception a little bit later than planned so you can photograph all of the wedding party photos. The most important thing is to be calm, and honest and communicate with your couple.
Building Out Your Wedding Day Timeline
Here are just a few tips and tricks that I like to keep in mind when building out a wedding timeline.
Start With Detail Photos
Typically, I will start with details/flat lays and dress photos when I arrive. However, even if this is how I typically do things I always make sure to go with the flow of what my couple wants. If they don’t want detail photos taken or not as much focus on that, I won’t do it. Simple as that.
Stick to 30 Minutes Per Group/Event
After taking detail photos, I usually stick to the rule of thumb of 30 minutes per group and event. This is the perfect amount of time for an ample amount of photos without feeling rushed. Again, this is entirely dependent on your couple and their wants and needs. If their family photo list is a bit more extensive, this time frame could lean more toward the 45-minute range.
Individual Portraits w/ Wedding Party Portraits
Typically, I will do individual groom portraits when the groom is hanging out with his groomsmen. Same thing with my brides! This is the perfect way to get your couple hyped up and feeling as confident as ever to take on the day.
How To Make A Seamless Wedding Day Timeline
Well, there you have it. These are the tips that I use and learned to know how to make a seamless wedding day timeline. Hopefully, with a bit of insight on how you can build your wedding timeline, it will not only help you and your couple be as worry-free as possible but tackle their wedding day head-on with confidence!