Let me first start off by saying that every single photographer has their own process when it comes to their workflow. To be honest, it took me a while to get to the point where I feel completely comfortable with my workflows. It took a bit of time, but we finally made it (cue Drake’s Started From The Bottom). Now that I have created, established, and put my workflows to the test, I am here to share them with you today. My entire shooting-to-editing workflow, from start to finish. The secret ingredients, the magic combinations I use to have a much more efficient and seamless transition from photoshoot to actually editing the images on my screen. Let’s get started.
Disclaimer: This is my process and how I choose to structure my workflows within my own photography business. I am not here nor will ever be the one to tell you that this is the KEY to success or that you need to follow this exact formula to be successful. Take what information you choose and roll with it!
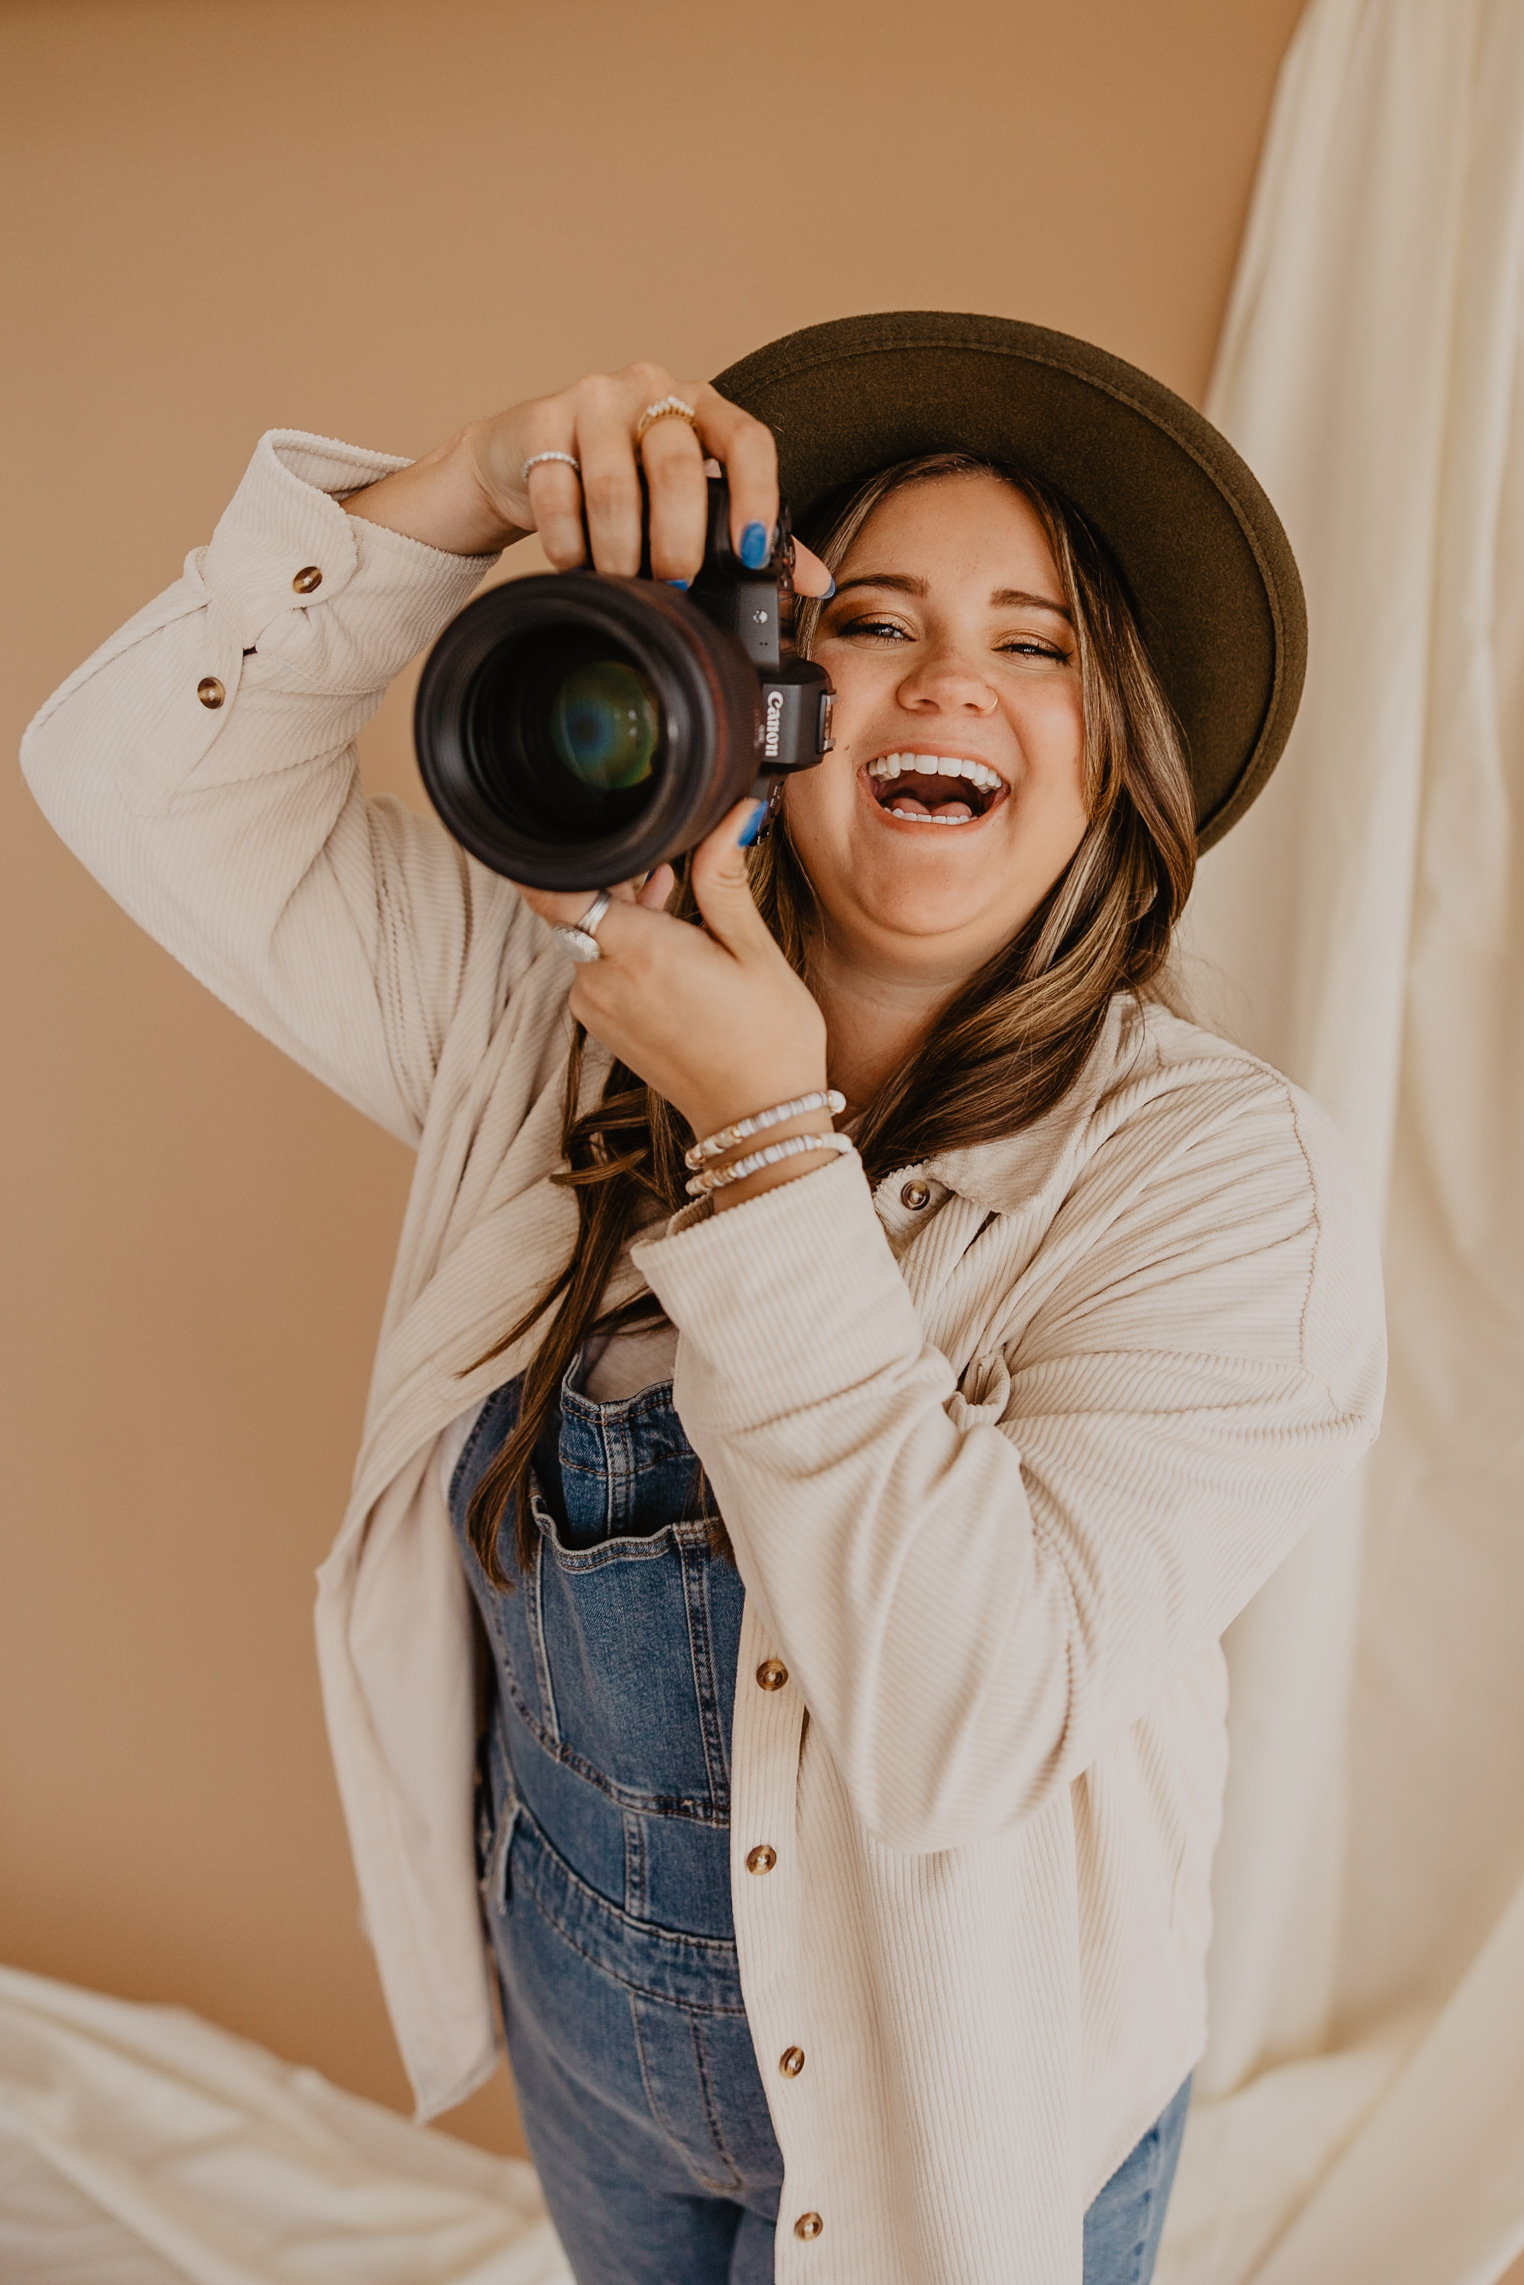
What Do I Use To Shoot?
First things first, let’s talk shooting. During any type of shoot, I am using SD cards. More specifically, the SanDisk Extreme Pro SD Cards. These cards (IMO) are the best in the game. They shoot at 170 MBPS so needless to say, they are fast. Using a mirrorless camera as well as wanting to incorporate GIF-making into my galleries, this feature is a necessity in my eyes. For weddings, I typically shoot on two SD cards at a time. However, with sessions, I don’t normally do that but is completely up to you and your preference.
After The Shoot
So fast forward, you’ve done your shoot. Either a wedding, engagement, branding, or whatever session may have you. Personally, these are the steps I take when it comes to transferring the images to my computer.
Upload your Images to Your External Hard Drive
I come home and I take my SD card out of my camera, plug it into my computer and drag all of the RAW images from the SD card to an external hard drive with a folder named for the shoot. I stick to the same format for everything so it’s easy to read and search for when I need to. Copy and paste this format if you like because we will be using it repeatedly throughout this process!
Catherine+Ryan_EngagementPhotos_May2023
JonesFamilyPhotos_Jan2023
Rebecca+Thomas_Wedding_June2023
Culling Through Your Images With Narrative Select
Then I navigate to my culling software, Narrative Select, and select that folder I just put all of my RAW images in to. Culling essentially means selecting and narrowing down the images to the absolute best of the best ones to edit. For the longest time, I was using Lightroom to cull through my images. Until I met with my one true love, Narrative Select. While there are several other programs to use for this process, Narrative Select has stayed my tried and true. Some features that I love about Narrative Select is that it can detect when subjects’ eyes are closed, includes a Face Zoom feature, and is very user-friendly. Can you tell I’m in love or???
In Narrative Select I go through and use a star-rating system to pick my favorite images out of all the ones that I have shot thus far. This star-rating system is not only fast and easy but will help you in importing these images from Narrative Select back into Lightroom Classic.
Still following along? My next steps are my import settings!
Importing Images
Then open up Lightroom Classic. I create a new catalog with the same name as I used for the folder for the RAW images and drag the culled photos from Narrative Select in to that LR Catalog. After dragging the culled photos to Lightroom Classic, it should automatically open up the Import dialogue. At the top, you’re going to notice four different options: Copy, Add, Move, or Convert to DNG. Personally, I use the Copy option. Why you may ask? I always like to have a backup of my images on my SD cards until I have delivered the final gallery. In turn, any other option would either A.) give the option to move my images and not have backup options or B.) convert the images to an entirely different photo format. Both of these we do not want, hence the reason I choose “copy”.
Smart Previews
You will then notice your file handling drop-down menu. It is here that you will find the option to Build Smart Previews. So basically what this does is create a small thumbnail image of your photos as you begin uploading them into Lightroom. It also makes it 10x easier to edit your photos without your hard drive having to be connected to your computer! The smart previews are incredibly fast, efficient and if I’m being honest… has completely revolutionized how I organize my Lightroom catalog. Basically, it’s a necessity now. Make sure you also choose the option Build Preview Standard for maximum efficiency!
Add To Collections
You can choose to add to collections if you want. This is helpful for weddings, because you can separate different parts of the day like details, portraits, ceremony, reception, etc. You can do this during the import process or you can also create collections later on as well. If you want to go back and start creating collections within your Lightroom Catalog you are more than happy to do so after the fact as well.
Renaming Your Files
One of the most important steps is going to be renaming your files. A step that is often overlooked but can be incredibly necessary when organizing your images. Make sure that you are going to the file naming option and renaming your files. This step is important to help keep you organized and not have to worry about image JW855 – lol. So I go over to Template – Custom Settings – Edit and I will name it pretty much the same all throughout. I keep this name the same as the folder name and the Lightroom Catalog name so it is all consistent. The only difference is adding a sequence number at the end for the images.
Example: AshleyandPaul_Engagement_2023_[SEQUENCENUMBER]
Make sure to copy this file name format and apply it to all of your images and click Done. At the bottom, you will also see a sample of what your images will be named. So just double-check and make sure everything looks good before moving to the next step!
You will also notice an option that says Extensions you will want to hit Leave as Is so that you don’t notice the file type at the end of your file name.
Keywords
Next up is the keywords. This is so helpful especially during the import process so that you’re able to use the filter bar to sort out photos in your Lightroom Catalog by keywords. Typically, I will just copy the same formatting that I used for my file name, it’s just a little bit different.
Example: Ashley and Paul, Engagement, 2023
Feel free to also add keywords such as the season or a specific location! That way in the future if a client is looking for what images look like during a specific season or at a specific location it is easily accessible.
Destination Window
So the last little bit is the destination window. You’re going to want to check that into Sub Folder. This is where you’re going to want to navigate to the hard drive where you keep your images. Right now I currently use a solid-state hard drive that has my Lightroom Catalog on it. A solid-state hard drive is a little tiny hard drive with NO moving parts. Compared to a regular hard drive, these are much safer and more secure when it comes to protecting your images. However, they do cost a bit more in price!
On my solid-state hard drive, I have a folder labeled RAW Images. I will then rename my subfolder within that folder the file name that I have been using this entire time.
Example: AshleyandPaul_Engagement_2023
Then you just click Import!
I keep these images on my SSD while I’m working on the gallery. Once it’s delivered to the client I move them to the master folder that has all the RAW images, the LR catalog, and now the imported renamed files. That way everything is in the same place!
Edit Your Sneak Peeks
Now that all of the images you want to edit have been put into Lightroom, it’s time to FINALLY edit your sneak peeks. Woohoo!! Personally, I like to deliver around 20 images for my sneak peeks for a typical one-hour session. I have found that the larger the sneak peek, the more satisfied my clients are in waiting for a little bit longer turnaround time. However, your process may be completely different and that’s totally fine too!
Delivering Your Final Gallery
I use the Pic-Time plug in for Lightroom Classic to easily upload my images to the gallery delivery site. Once you’ve installed the plug in from Pic-Time’s website, you can easily create a gallery, choose the cover image, and upload your images to Pic-Time all without leaving Lightroom. It’s such a time saver!!
Cleaning Up Your Hard Drive
You have finally delivered your final gallery and now it’s time to clean things up. At this point, I go back to my solid-state hard drive and delete the RAW images from there. Don’t worry though, remember we have backups in place. In order to save storage, however, I always delete the RAW images from my solid-state hard drive only AFTER I have delivered the final gallery.
Back-Up Everything… AGAIN
Last but certainly NOT least, I back up everything once again. In this case, I purchase a matching external hard drive. Same color, same storage, everything. Personally, I use G-Drives for both my solid-state hard drive and my external hard drive. I use the 2TB version of the G-drives just to ensure I have plenty of space for all of my images. Once I import the RAW images into my hard drive I will take a physical label maker to identify what months/year photos are in this specific hard drive. I then wait until it’s about 1.9TB full before switching to a new hard drive. This is done on purpose to leave a little bit of wiggle room for things to work their magic!
I also absolutely love using Backblaze as a way to further secure and back up my images!
My Entire Shooting-to-Editing Workflow
Whew, who is still with me after that? I know that this must seem like a lot of information because it is. However, when I said I was going to deliver my entire shooting-to-editing workflow I was going to go ALL OUT. If you loved reading this blog on my entire shooting-to-editing workflow, feel free to check out my podcast page here or my website here! You can also listen to the full podcast episode on my entire shooting-to-editing workflow down below!